DJM-800 Instructions
EDIT 11/4/2010 note these instructions are for the original Innofader + DJM-800 adapter kit. We are now recommending that you use the Innofader Pro instead. The instructions are essentially the same except use the J17 adapter on the Innofader Pro.
Before doing this installation, make sure you have both the Innofader kit and the Pioneer DJM-800 Innofader Adapter kit. This kit may be purchased in the USA through AGI Pro DJ, or through our various distributors worldwide.
Note AGI Pro will be producing a detailed video going in depth about how to do this installation. We will post this video here once it is available.
The kit includes the following:
Pioneer DJM-800 crossfader adapter plate
2 screws
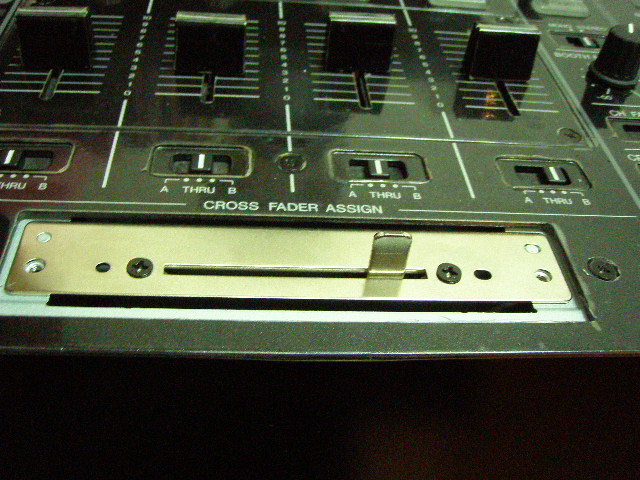
The first step is to remove the crossfader. This is the piece that will come out.
The slot is covered by the plastic insulator as shown:
Now please do not cut a hole here. It will save lots of time, but it's impossible to return it back to its original state, which you might want to do if you ever sell it or send it back for repair.
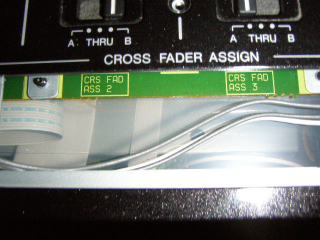
So you need to take off the faceplate - 9 screws on the top, 2 screws in front, 2 screws in back. It is not necessary to remove the screws for the microphone. Only the gain knobs need to be removed. Lift the faceplate up then flip over to the left and you will see the insulator card. Remove the following 2 screws from the insulator card:
then tuck the insulator card inside the unit. There should be a small space under the front panel where the insulator card can partially fold and tuck in. Tuck in the insulator card while reattaching the faceplate.
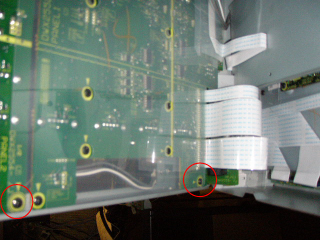
Hook up the Pioneer 3-pin crossfader connector to J13 also marked "NUMARK DIGITAL" on the Misc. Adapter Board as shown.
****VERY IMPORTANT: Even though it fits perfectly, do NOT use the connector marked "UREI KORG". This connector has the power reversed. We have heard back from customers who have done this by accident and it pops a fuse in the DJM-800 which requires a service tech to replace!!!
Update 11/4/2010 if you are installing using the Innofader Pro, hook up the crossfader connector directly to J17 on the Innofader. No polarity testing is required

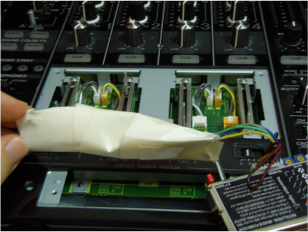
Put insulator tape on the adapter board and Innofader just to make sure things don't short out. It is extremely important that you insulate the Innofader properly. If you are still unclear about how to properly insulate the Innofader after looking at the pictures, please see our insulating instructions. Insulated tubes are included with the Innofader or Innofader Pro kit.
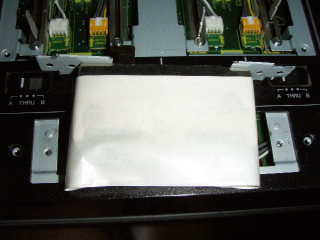
Before putting everything back, tuck in the adapter cable visible from the slot.
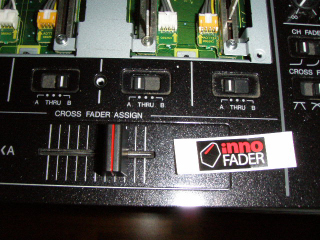
Install the Innofader using the DJM-800 adapter plate and 2 screws included with it. You should use the included screws or else the crossfader plate will bulge! Make sure when you install the Innofader that the label is facing towards the line faders.