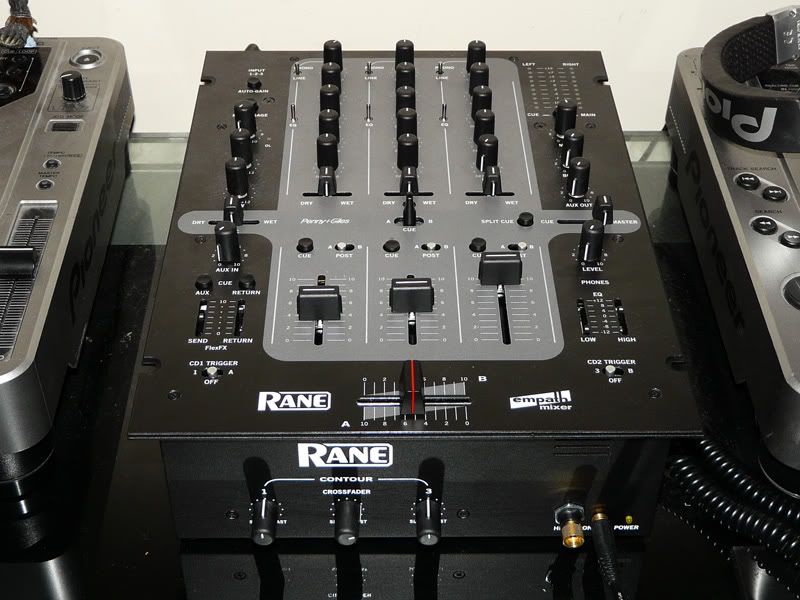
Rane Empath Install
ADMIN EDIT 6_8_2022: All current mini Innofader Plus, Innofader PNP2, and Innofader Pro2 models have the necessary cables and adapters included for installation. For these models, please skip to step 8 which illustrates how to modify the faceplate to fit an Innofader.
ADMIN EDIT 8_18_2011: Please write to us, indicate your mailing address, and ask for the "P&G adapter cable for Denon and Rane Empath mixers". The cable looks like this:
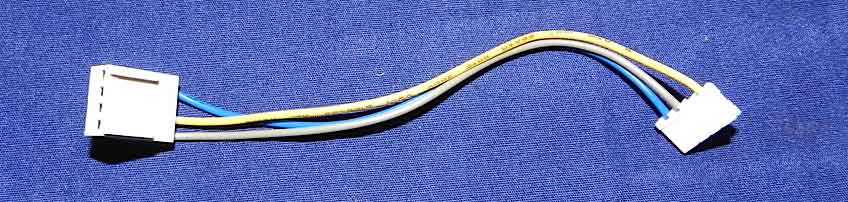
We are now supplying this cable free of charge to customers who purchase the Innofader for these Denon mixers and the Rane Empath. They both use the same wiring system that was established for the P&G fader.
This cable will either plug directly into the original Innofader or plug into J40 on the VCA adapter for the Innofader Pro. Both models will work. So please for the original Innofader do not use the misc adapter board; instead you should connect the above cable directly to the Innofader. The instructions for widening the holes for mounting the Innofader are the same, and for the original Innofader it is safe and suggested to do the wiring mod to the main cable to ensure full cutoff on both sides of the crossfader.
Original post from SwiftFinger-Smith:
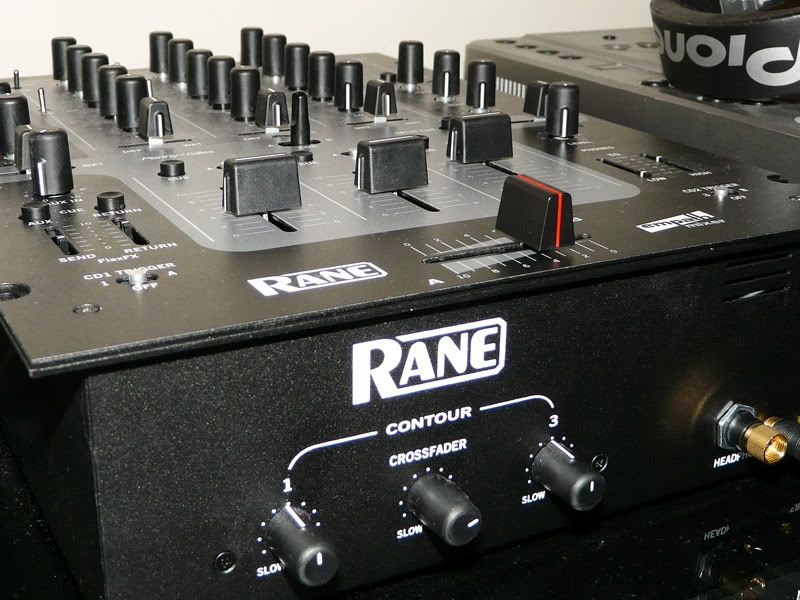
Here is my installation guide to fit the Innofader into a Rane Empath.
Before you start you will need 3 jumper wires to connect the mixer to the adapter board. I contacted support@audioinnovate.com and these were very kindly sent to me (in the UK).
Once they arrive you can begin the installation, as follows:
Step 1
Turn off the mixer and remove the faceplate. Unscrew, disconnect and remove the P&G crossfader from the mixer.
Step 2
Plug the 3 jumper wires onto the pins on the circuit board inside the mixer. You?ll notice that there are 4 pins on the connector however only pins 1, 3 & 4 are used.
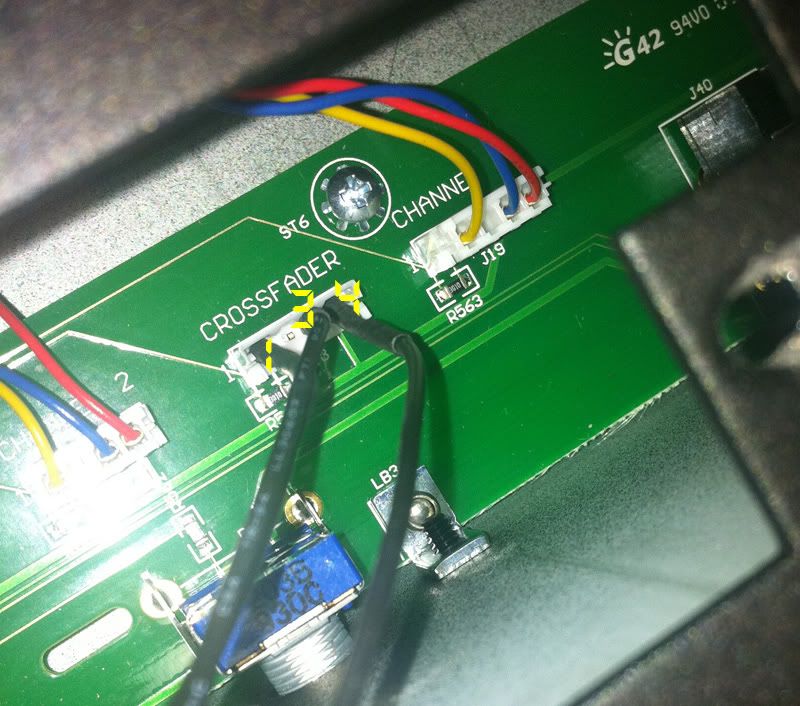
Step 3
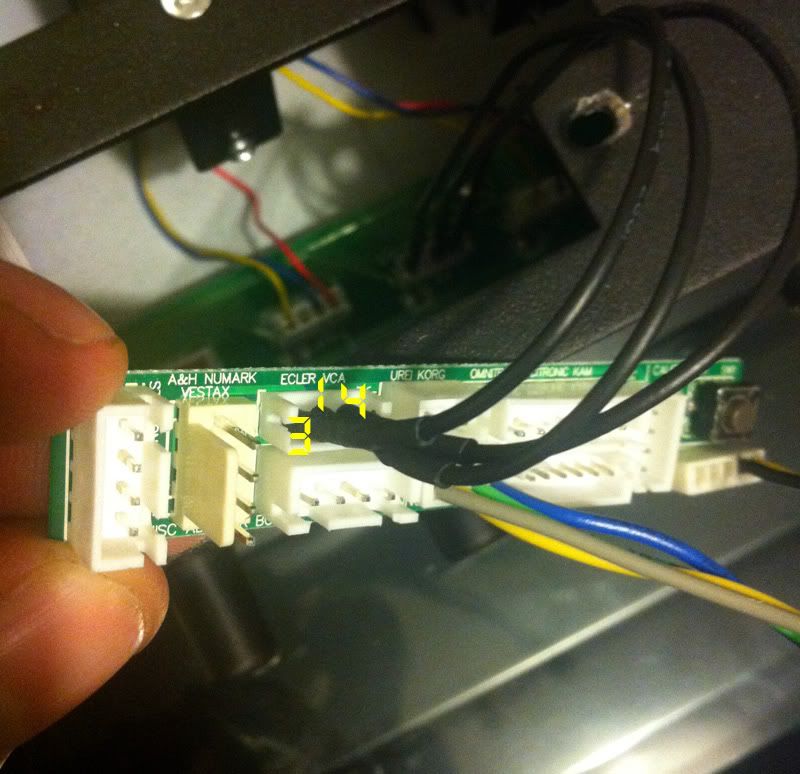
Plug the other ends of the jumper wires onto the J3 connector on the adapter board, as shown.
Step 4
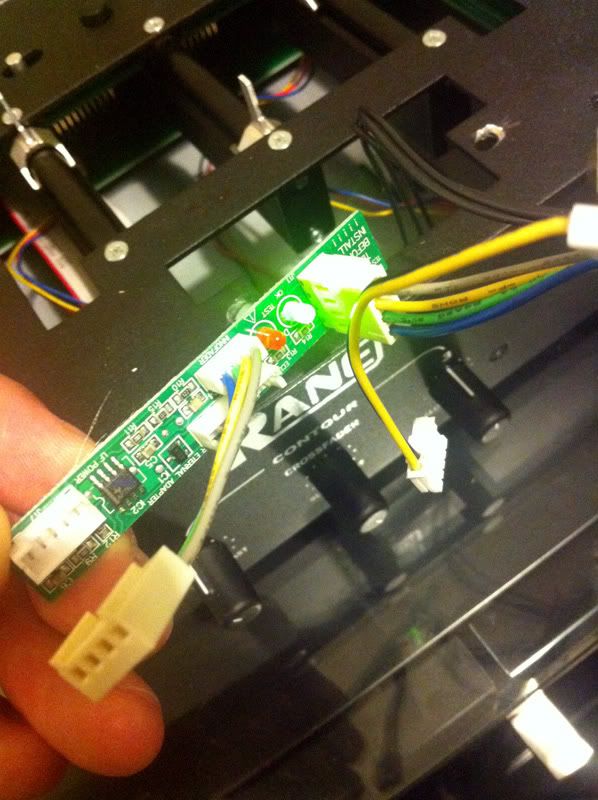
Plug the J7 cable onto the test circuit board. Make sure the boards aren?t touching each other, or the mixer, then turn on the power. You should get a green light!
Step 5
Turn off the power again and disconnect the test board. Plug the J7 cable into the Innofader and turn the power back on.
Step 6
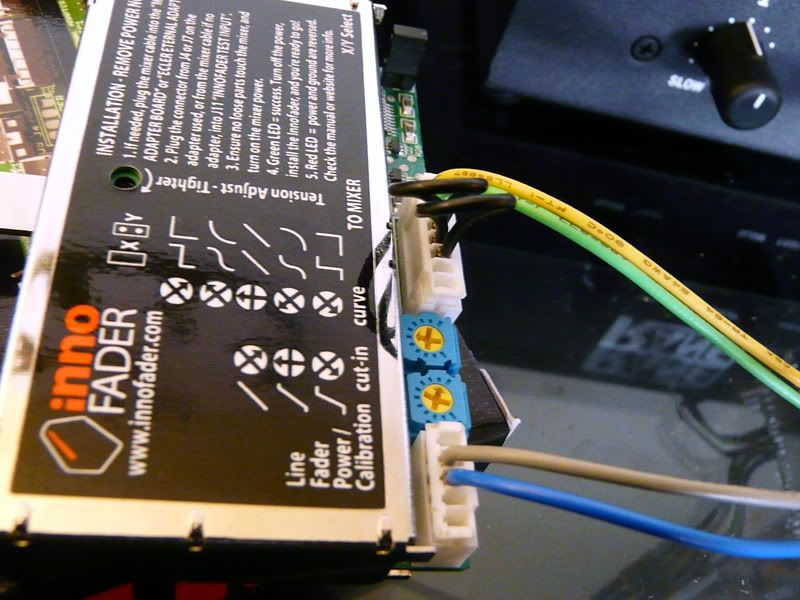
Test the Innofader. If (like me) you find that one side doesnt fully cut then you'll need to carry out the wiring mod which fixes the problem. This is explained here: http://www.audioinnovate.com/forums/index.php?showtopic=133
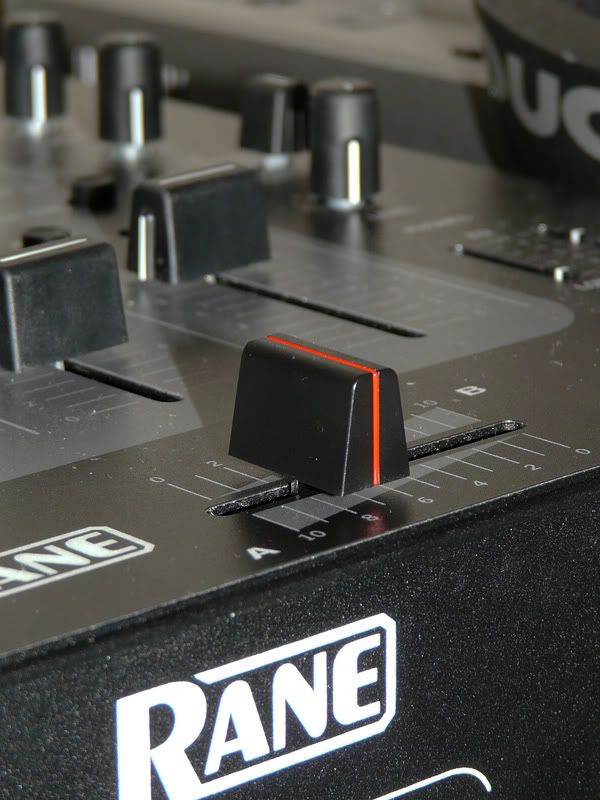
Here is my connected Innofader following the wiring mod:
Step 7
Once you have your Innofader connected and working properly, play around with it and set up the curve, cut-in etc. Now your ready to butcher your lovely Empath..
Step 8
This isn't half as bad as it sounds and the filing took me about 20 minutes. Turn off the power and remove the Innofader. Get a damp (DAMP, not WET!) cloth and stuff it into the mixer. This will protect the circuit boards from damage and also catch any filings landing on the circuit board. Use a needle file and begin to elongate the mounting holes. You'll also need to countersink the holes because the mounting screws need to sit flush with the mixer body.
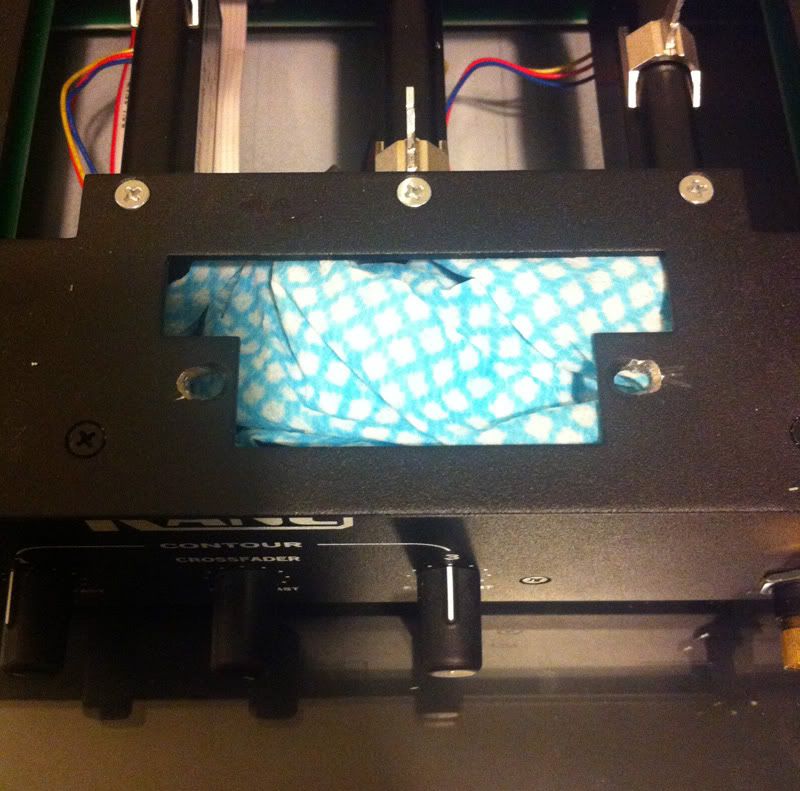
TIP: Use the shorter, insulated, flathead screws to mount the Innofader. As well as giving the electrical insulation, they also sit a bit 'flusher' than the other screws so you don't have to file as much.
Step 9
Lube up the fader as described in the standard installation instructions
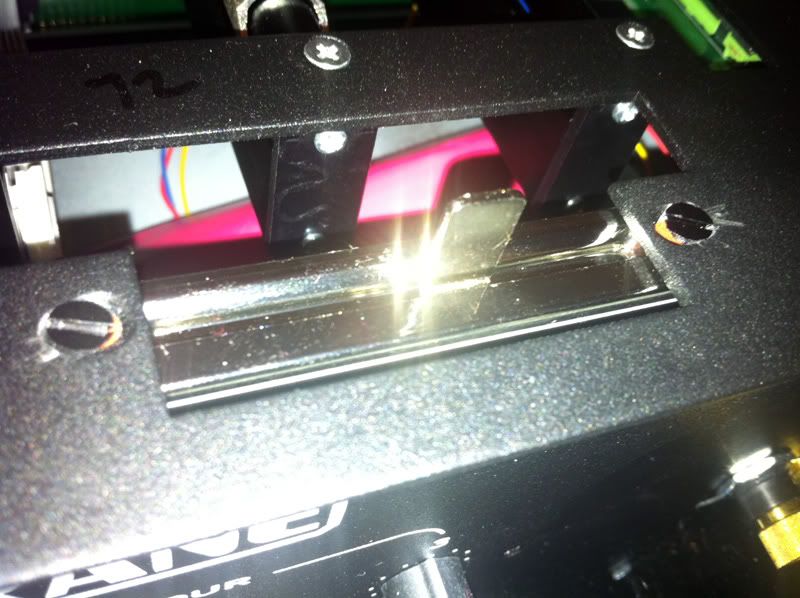
Step 10
Connect the Innofader, put all the electronics into the rubber sleeve and mount the Innofader using the insulated screws. You might want to use the self-adhesive washers to further insulate the fader. Take care not to dislodge the jumper cables from the circuit board as you put the new fader into the mixer. Here is my mounted Innofader:
That's pretty much it. Before you re-assemble the mixer just turn the power back on and make sure everything is still connected and is working.
I've set my curve to about 12:30 and the lag a short as i can. I get full cut on both sides and full adjustment using the Empath's x-fader curve control. Im very pleased with the result and i love the feel of this awesome fader.
Enjoy.