Xone:22 Innofader Pro Install
Based on numerous customer requests, I have gone through quite a bit of effort to make the Innofader Pro compatible with the Xone:22. But even so, it will require a bit of effor on your part.
First, you'll need a torx screwdriver with a bit approximately 2mm across. It's round with 6 points on the sides evenly spaced. Without this tools you will probably end up stripping the screws and/or scratching the faceplate so do yourself a favor and use these tools! There's a picture of it on the left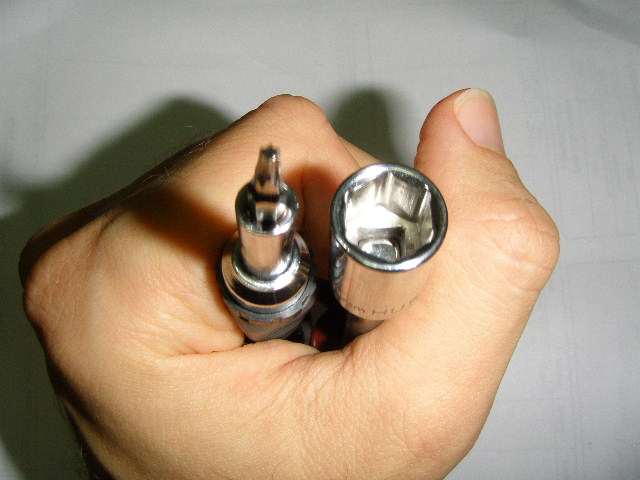
To disassemble the unit, first remove the 3 screws on the rear panel on the line/phono and send/return RCA jacks.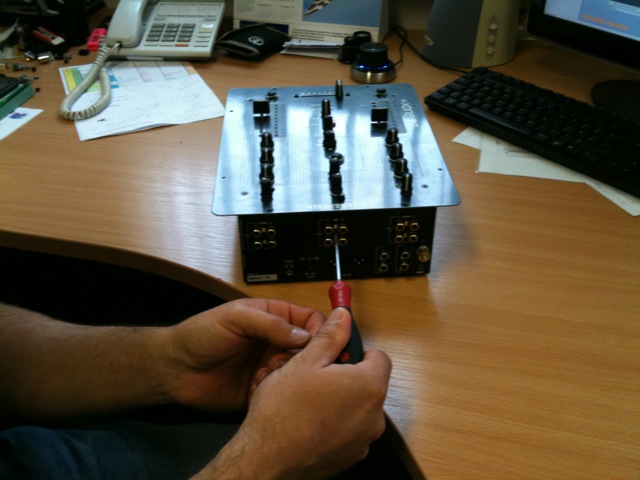
Then remove all of the faceplate screws except for the 4 screws holding the 2 channel faders.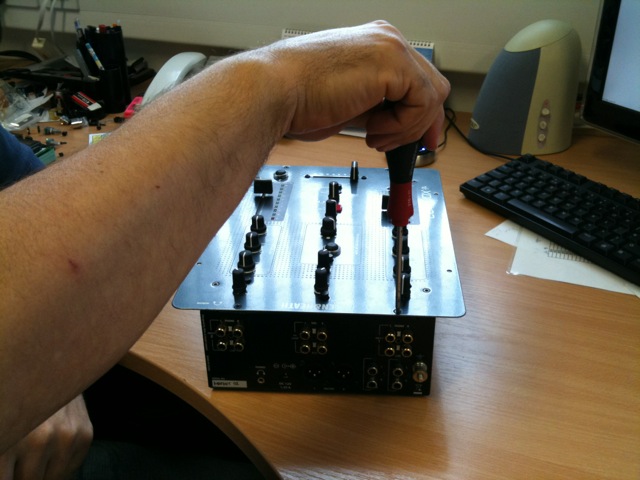
The cover than can be popped up a few inches.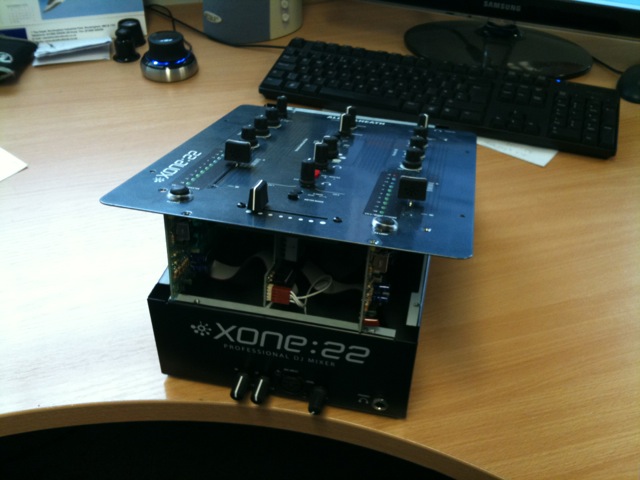
Reach in and remove the 4 pin cable connection to the front MIC PC board.
Then lift the front panel up, slide it back, and pop it open. Be careful not to pull on the green ground wires. If you encounter resistance from them, adjust the panel until it pops open freely.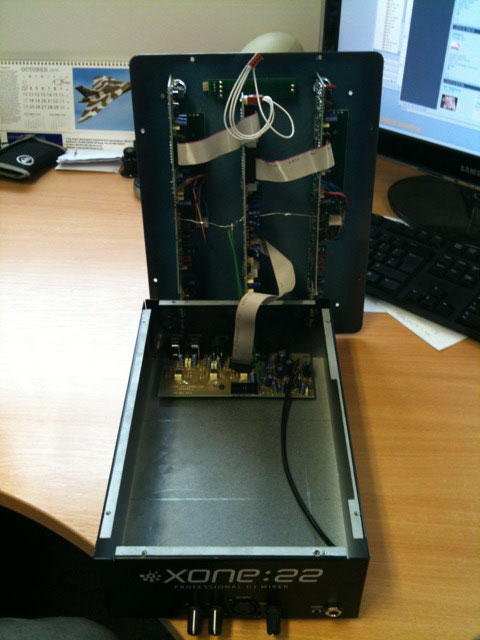
If you've loosened the crossfader properly it should come off as such: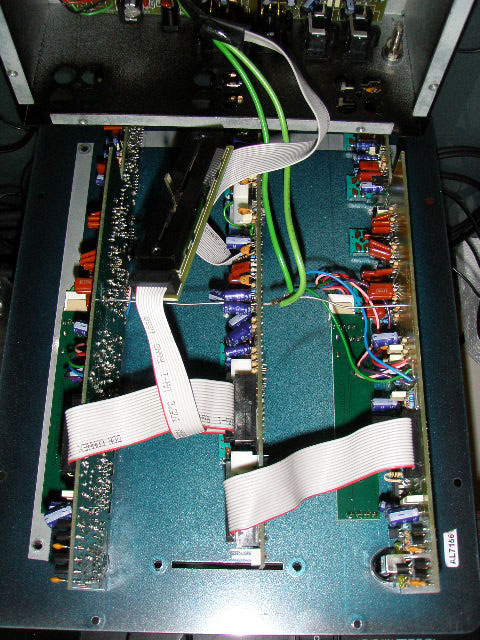
Now electronically you'll need to do a little wiring modification. Here's what the original wiring looks like: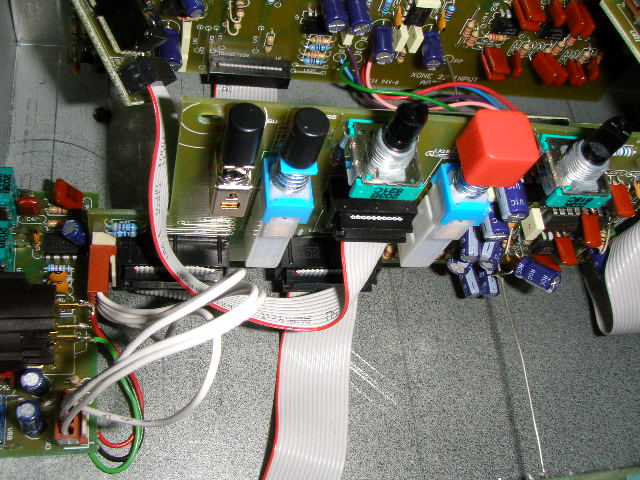
We've included the crossfader cable already to make this easier, but since the Innofader Pro requires power from the mixer, this requires you to modify the existing power cable. The below picture shows the red and black cable included in the Innofader kit and the white cable used in the Xone:22: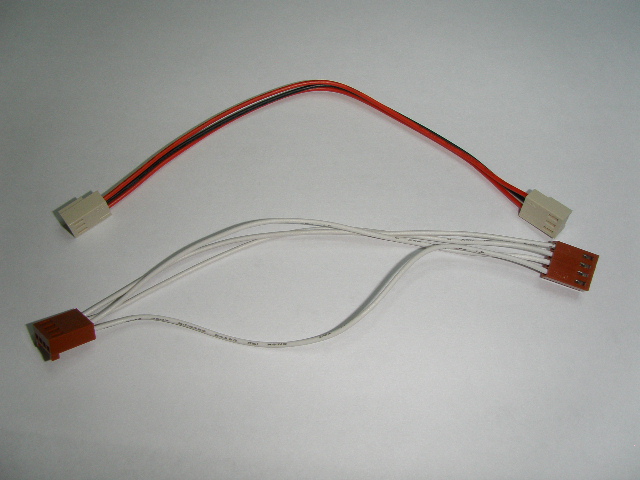
You'll need to modify wires by pulling them out of the socket pins
Combine the cables into a single cable as follows: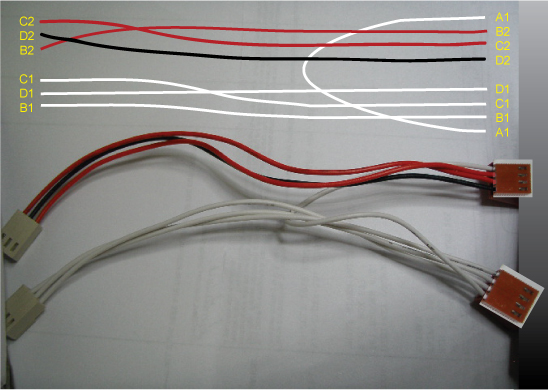
Note A1, B1, C1, and D1 wires are from the Xone:22 cable, and B2, C2, and D2 wires are from the Innofader Pro kit. So the cable is built as follows:
1) Remove B1, C1, and D1 wires from one of the 4 pin sockets of the Xone:22 cable
2) Remove B2, C2, and D2 wires from one of the 3 pin sockets of the Innofader 3 wire cable
3) Place the B1, C1, and D1 wires into the Innofader 3 wire cable plug which had wires removed in step 2
4) Place the B2, C2, and D2 wires into the Xone:22 cable plug which had wires removed in step 1
Here's how all of the wires will hook up inside the unit. Don't hook them up, just look at this and make sure you understand it.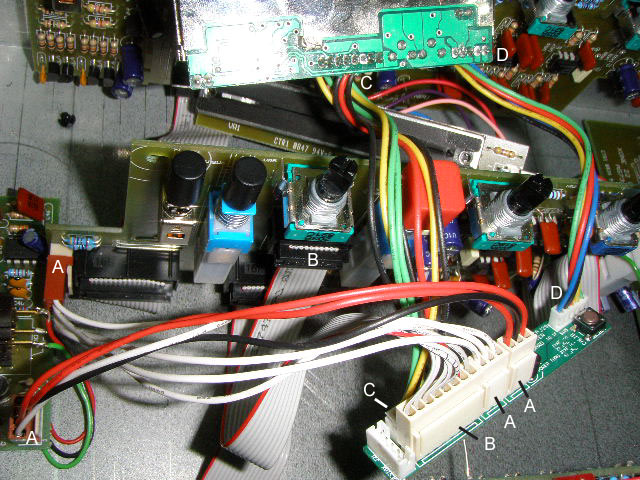
***For the Innofader Pro2, ignore step D. Simply connect one end of adapter (15) to the Innofader Pro2 as shown in C, and route A and B cables through adapter (15). Then skip to Innofader Pro2 continue here.
A shows the cable you just modified ***Make 100% sure that you plug the connector with 1 white, 2 red, and 1 black wire into the microphone board, and the end with 4 white wires into the long center PC board which has the socket for the crossfader cable.
B is the Xone:22 crossfader cable for the Innofader included in the Innofader Pro kit
C and D are cables that go to and from the Innofader and the non-VCA output adapter PC board.
There's a small switch marked "ON 1" on the non-VCA adapter board. Either position will work fine.
Make sure the insulater has 2 self-adhesive washers on each side for the correct height. Start reassembling by connecting the Innofader to the adapter boards with the insulating tube as such: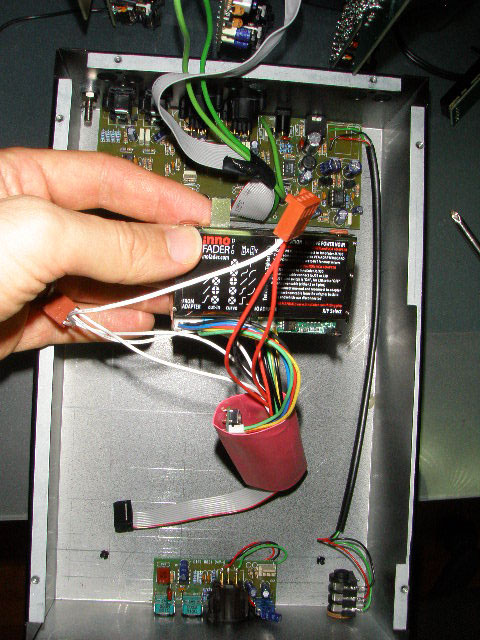
Screw in the Innofader with the label facing the rear using the insulated slotted screws from the Innofader Pro kit. Plug in all of the connectors except the one with the black, red, red, and white wires which will go to the microphone PC board later.
.
Make sure the adapter board is tucked in neatly.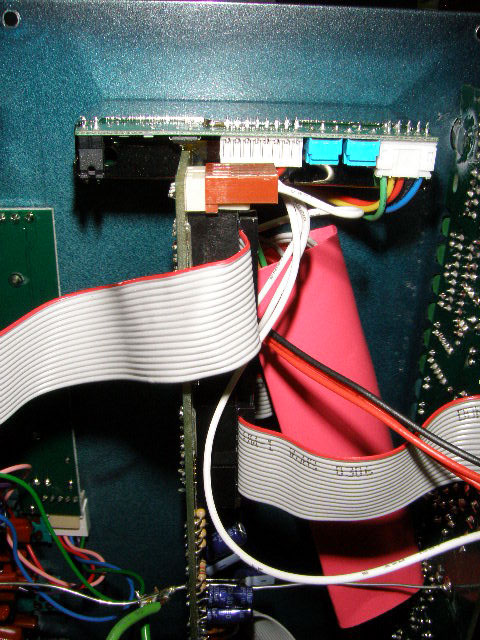
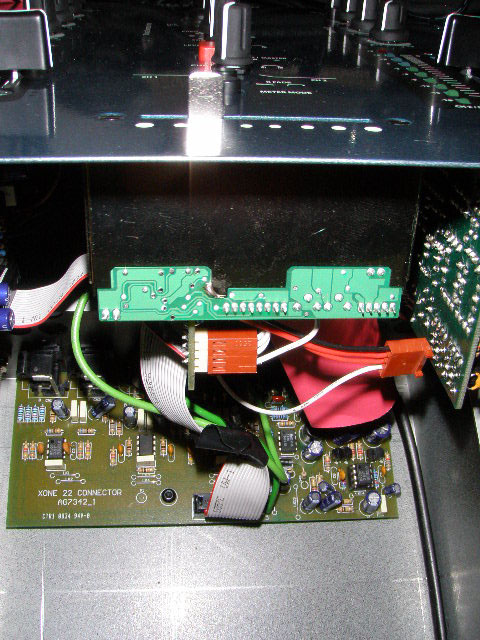
Innofader Pro2 continue here
Now connect the final remaining 4 wire connector into the microphone PC board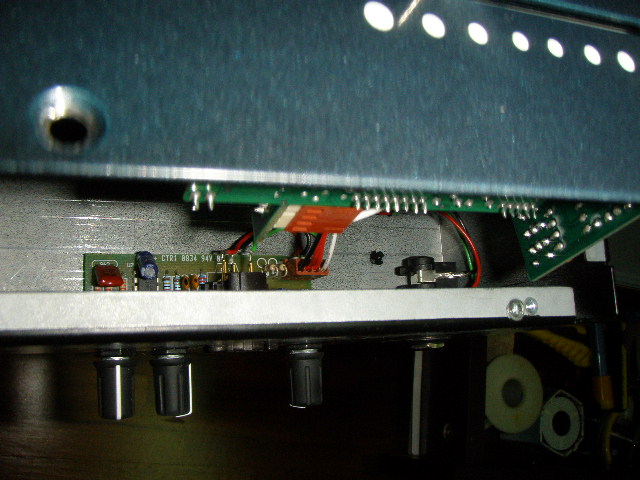
Screw everything back together and you're done!